


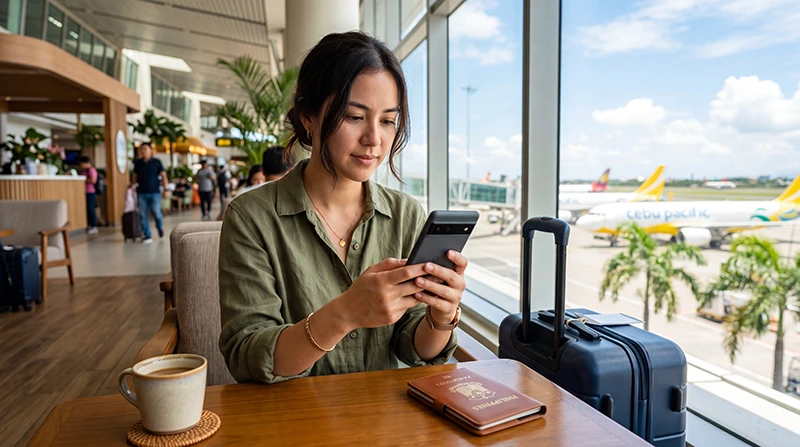

A Philippines eSIM can provide mobile data on a compatible, carrier-unlocked Android phone without replacing the physical SIM. The exact menu names differ between Samsung Galaxy, Google Pixel and other manufacturers, so the useful check is whether the phone offers an option to add or download an eSIM.
Install the plan while dependable Wi-Fi is available, then choose the travel eSIM for mobile data when the plan should become active. Travellers keeping a home SIM in the phone should also disable automatic data switching so Android does not fall back to an expensive roaming connection.
NoveSIM travel eSIMs are data-only. We do not provide a Philippine phone number, conventional voice calls or carrier SMS. WhatsApp and other internet-based calling and messaging services can use the eSIM data connection without changing the number registered with the app.
Quick answer: first confirm that the exact Android model supports eSIM and is unlocked. On Samsung, look under Settings > Connections > SIM manager; on Pixel, look under Settings > Network & internet > SIMs. Add the plan on Wi-Fi, then select it for mobile data, enable roaming on the travel eSIM and turn off automatic data switching on the primary SIM.
Top Philippines eSIMs


Check eSIM support on the exact Android phone
A phone family name is not enough to confirm compatibility. Support can vary by model number, sales region and mobile operator. A device may display an eSIM menu but still be locked to the carrier that originally supplied it.
Use the settings path that matches the phone:
- Samsung Galaxy: open Settings, Connections and SIM manager, then look for Add eSIM.
- Google Pixel: open Settings, Network & internet and SIMs, then look for the option to add or download a SIM.
- Other Android brands: search Settings for eSIM, SIM manager or Add mobile plan.
Before purchasing, identify the exact model number in Settings > About phone and confirm its eSIM specification for the market where it was sold. Ask the original carrier whether the device is unlocked if the status is unclear. The broader checks are explained in the Philippines phone-compatibility guide.
Prepare the Android phone before installation
Install before departure when possible, but follow the validity instructions supplied with the purchased plan. Adding an eSIM to the phone and starting its validity are not always the same event.
- Connect the phone to stable Wi-Fi.
- Install pending Android system updates before travelling.
- Open the QR code on a second screen or keep the manual installation details available.
- Make sure the battery has enough charge to complete installation.
- Keep the QR code and activation details private.
A screenshot of a QR code stored on the same phone may not be scannable from the normal setup screen. Use the manual method only when the order instructions provide the required activation details. For the general sequence across devices, see how to install a Philippines eSIM.
Install the Philippines eSIM on a Samsung Galaxy
Samsung labels can vary slightly with the Galaxy model and One UI version. The following route is typical when eSIM is enabled on the device:
- Open Settings.
- Tap Connections.
- Open SIM manager.
- Tap Add eSIM.
- Choose the QR-code option and scan the code supplied with the plan.
- If instructed, use the manual activation option instead.
- Follow the prompts until the new plan appears in SIM manager.
- Give the line a clear label such as Philippines Data.
Do not delete the new line if it does not connect immediately. It may be waiting for the correct activation conditions, or the data settings may still need to be assigned after arrival.
Install the Philippines eSIM on a Google Pixel
Pixel menu wording also changes between Android releases. Begin from the SIM section rather than assuming that every Pixel uses the same button label.
- Open Settings.
- Tap Network & internet.
- Open SIMs.
- Select the option to add a SIM or download a new eSIM.
- Scan the supplied QR code.
- Complete the on-screen download and installation prompts.
- Rename the plan Philippines Data or another recognisable label.
If the add-SIM option is absent, confirm the model and regional variant rather than repeatedly scanning the code. A work-managed device may also restrict changes to mobile plans.
Choose the correct Android settings after arrival
Once the plan should be active, return to the phone’s SIM settings and assign each line deliberately. The names vary, but the intended configuration is consistent:
| Android setting | Travel configuration |
|---|---|
| Philippines eSIM | On |
| Mobile data | Philippines travel eSIM |
| Roaming on the travel eSIM | On |
| Automatic data switching | Off |
| Primary SIM data roaming | Off unless the home operator confirms the cost |
| Network selection | Automatic |
Turn off Wi-Fi after applying the settings and load a webpage. This distinguishes a working cellular connection from hotel or airport Wi-Fi. The complete arrival sequence is covered in the Philippines eSIM activation guide.
Keep the primary SIM without accidental roaming data
Dual-SIM Android phones can use the travel eSIM for internet access while keeping the home line available for its usual number. This does not make calls, SMS or voicemail on the primary line free. The home operator’s roaming tariff still applies to activity handled by that line.
To control which SIM uses data:
- select the Philippines eSIM as the preferred mobile-data SIM;
- turn off data roaming on the primary SIM;
- disable automatic mobile-data switching or backup calling data;
- check the selected SIM before making a carrier call or sending an SMS;
- leave the WhatsApp account on its existing number unless you intentionally want to change it.
If keeping WhatsApp reachable is important, review how WhatsApp works with a Philippines data eSIM before changing any app registration settings.
Expect coverage changes between Philippine islands
The eSIM remains installed while moving between Manila, Cebu and the islands, but the available signal depends on the partner network and location. Service can weaken on ferries, remote beaches, mountain roads and less populated sections of Palawan, Siquijor or other islands.
Download boarding details, accommodation pins, transfer instructions and offline maps before leaving reliable coverage. A temporary loss of signal offshore does not necessarily indicate an Android configuration problem. Wait until the phone returns to an area with terrestrial coverage before changing network settings.
Leave network selection on Automatic unless NoveSIM support provides a specific alternative. The Philippines mobile-internet guide explains how geography and local network conditions affect the connection.
Use hotspot and 4G or 5G realistically
Hotspot availability depends on the purchased plan and phone configuration. When tethering is supported, laptops and tablets use the same data allowance. Cloud backups, system updates and video meetings can consume considerably more data than navigation or messaging.
The phone may show LTE, 4G or 5G according to the plan, device bands, partner network and local coverage. Owning a 5G Android phone does not guarantee 5G throughout the Philippines. An automatic preferred-network mode is normally the most practical choice.
Android usage counters help identify demanding apps, but their measurement period may not match the eSIM plan. Consult the plan information for the authoritative allowance and use the Philippines data-planning guide before choosing a package.
Fix a Philippines eSIM that has no data on Android
First decide whether the problem is coverage or configuration. If service should be available, check the phone in this order:
- Confirm that the plan is valid and has remaining data.
- Make sure the Philippines eSIM is switched on.
- Select it as the mobile-data SIM.
- Enable roaming on the travel eSIM.
- Turn off Wi-Fi and test a webpage again.
- Switch Airplane Mode on briefly, then turn it off.
- Restart the phone once.
- Return network selection to Automatic.
- If the plan instructions require a manual APN, enter data.esim exactly.
Do not copy an APN from a Philippine domestic operator, and do not delete the installed eSIM during initial troubleshooting. Its QR code may not be reusable. Continue with the Philippines eSIM troubleshooting guide if data still does not work.
Related Articles
- Install a Philippines eSIM
- Activate a Philippines eSIM
- Check Philippines eSIM Phone Compatibility
- Use an eSIM in the Philippines
- Troubleshoot a Philippines eSIM
FAQ
How do I know whether my Android phone supports a Philippines eSIM?
Check the phone settings for Add eSIM, Add mobile plan or Download a SIM, then verify the exact model number and sales region with the manufacturer. The phone must also be carrier-unlocked.
Should roaming be enabled on the Android travel eSIM?
Usually yes. Enable roaming on the Philippines eSIM so it can use its partner network, while keeping roaming data off on the primary SIM unless the home operator confirms the charge.
Can I keep my normal SIM and WhatsApp number?
Yes. Use the travel eSIM for mobile data and keep the primary SIM for its usual number. WhatsApp can remain registered to the existing number while using the eSIM internet connection.
Should I delete the eSIM if Android shows no service?
No. Check plan validity, the selected data SIM, roaming, network selection and local coverage first. Delete the eSIM only if NoveSIM support specifically instructs you to do so.
Final Recommendation
Confirm the exact Android model’s eSIM support and unlocked status before buying a Philippines plan. Install it on reliable Wi-Fi and keep the QR code and manual details private.
After arrival, switch on the travel line, select it for mobile data, enable roaming on that eSIM and disable automatic data switching. Keep primary-line roaming off unless its operator has confirmed the price.
Prepare offline information before island transfers and use the ordered Android checks if the connection stops. Keep the eSIM installed while troubleshooting unless support tells you to remove it.