


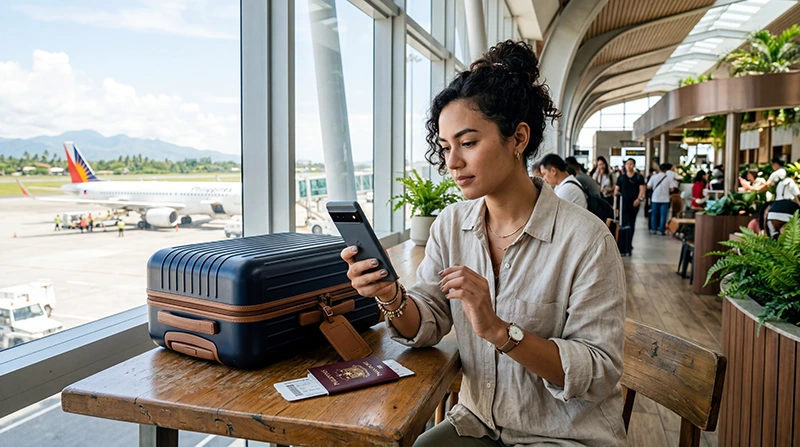

To activate a Philippines eSIM, complete two separate tasks: add the eSIM profile to your phone and then configure that line for mobile data. Installing the profile successfully does not always mean the phone will connect immediately, especially if the travel line is still switched off or your primary SIM remains selected for data.
Quick answer: install your eSIM on reliable Wi-Fi before departure, but follow the activation timing stated for your specific plan. After arriving in the Philippines, turn on the travel eSIM, select it as the mobile-data line, enable Data Roaming on that eSIM and keep network selection on Automatic. Switch off Wi-Fi before testing the connection.
Top Philippines eSIMs

Philippines eSIM
Fixed
1 GB, 7 days5.50$2 GB, 15 days8.50$3 GB, 30 days11.00$Unlimited
Unlimited, 1 day6.00$Unlimited, 3 days9.50$Unlimited, 5 days13.50$
NoveSIM travel eSIMs are data-only. We do not provide a Philippine phone number, conventional voice calls or carrier SMS. WhatsApp, iMessage, FaceTime and other internet-based services can continue to work with mobile data when their account settings remain unchanged.
Before You Install the Philippines eSIM
Complete a few checks while you still have dependable internet access. Your phone must support eSIM and must not be locked to another mobile operator. You can check the model on our eSIM-compatible devices page, but the phone settings provide the final confirmation: look for an option such as Add eSIM, Add Cellular Plan or SIM Manager.
Open the order instructions and note when the plan’s validity begins. Some plans start when the eSIM first connects to a supported network, while others may use different activation rules. Do not assume that scanning the QR code always starts the plan; follow the instructions supplied with the purchased package.
Before travelling, save the QR code or manual installation details somewhere accessible from a second screen. Do not share them publicly. It is also sensible to download your first accommodation address, airport transfer information and an offline map. This matters in the Philippines because an arrival may be followed by a domestic flight, ferry or long road transfer.
How to Install and Activate a Philippines eSIM on iPhone
- Connect the iPhone to stable Wi-Fi.
- Open Settings > Cellular or Settings > Mobile Service.
- Select Add eSIM, then choose the QR-code option.
- Scan the code from another device. If scanning is unavailable, use the manual details supplied with the order.
- Give the new line a recognisable label, such as Philippines Data.
- Keep your usual SIM selected for calls and messages if you need to receive them, but check whether your home operator charges for roaming activity.
- When the plan should be used, open the new line and switch on Turn On This Line.
- Under Cellular Data or Mobile Data, select the Philippines eSIM.
- Open that eSIM’s settings and enable Data Roaming.
- Turn off Allow Cellular Data Switching so the phone does not fall back to the primary SIM for data.
Menu names vary slightly by iOS version and region. The important result is that the travel eSIM is active, selected for mobile data and allowed to roam, while cellular-data switching is disabled.
How to Install and Activate a Philippines eSIM on Android
Android menu names differ between Samsung, Google Pixel and other manufacturers, but the same settings must be completed.
- Connect the phone to reliable Wi-Fi.
- Open Settings and find Connections, Network & Internet or SIM Manager.
- Choose Add eSIM, Add mobile plan or the equivalent option.
- Scan the QR code or enter the supplied activation information manually.
- Label the new profile Philippines Data.
- Switch on the eSIM when its activation conditions should begin.
- Select it as the preferred SIM for mobile data.
- Enable roaming for the travel eSIM.
- Disable automatic mobile-data switching or backup calling if that feature could use data from your home SIM.
On dual-SIM Android phones, verify the data choice rather than relying only on the on/off toggle beside the eSIM. A profile can be enabled while another SIM is still assigned to mobile data.
What to Do Immediately After Landing
Allow the phone a few minutes to register with a supported Philippine network. Keep network selection on Automatic for the first connection. Then turn off Wi-Fi and open a simple webpage or map. Testing with Wi-Fi enabled can hide a mobile-data configuration problem.
If the eSIM shows signal but no data, confirm these four settings before changing anything else:
- the Philippines eSIM is switched on;
- it is selected as the mobile-data line;
- Data Roaming is enabled on that line;
- automatic data switching to the primary SIM is disabled.
If manual APN entry is required for a NoveSIM plan, use data.esim. Leave username and password blank unless the order instructions specify otherwise. Toggle Airplane Mode for about 20 seconds after saving the setting, then test again with Wi-Fi off.
Activation Is Not the Same as Network Coverage
A correctly activated eSIM can still experience changing reception. Coverage differs between Metro Manila, Cebu, Palawan, smaller islands, mountain roads and ferry routes. Buildings, terrain, congestion and the local partner network all affect performance.
Do not delete the eSIM simply because reception changes during an island transfer. Deleting a profile may make reinstallation difficult or impossible without assistance. First move to an open area, toggle Airplane Mode, restart the phone once and let Automatic network selection register again. For broader planning, see our guide to mobile internet in the Philippines and the best Philippine networks for tourists.
If the Philippines eSIM Still Does Not Connect
Work through the settings in a fixed order instead of repeatedly changing several options:
- Confirm the plan includes the Philippines and has remaining validity and data.
- Check that the correct eSIM is selected for mobile data.
- Enable Data Roaming on the travel line.
- Turn off Wi-Fi and test again.
- Toggle Airplane Mode and restart the phone once.
- Check the APN and return network selection to Automatic.
If the problem remains, follow the detailed Philippines eSIM troubleshooting guide. When contacting Support, include the phone model, current city or island, the visible network name, the exact error and screenshots of the SIM and mobile-data settings. Do not send the full QR code in an unsecured public message.
Keep the Primary SIM from Creating Roaming Charges
You can usually keep your primary SIM active for incoming calls or verification messages while using the travel eSIM for data. However, your home operator controls roaming charges. Turn off Data Roaming on the primary SIM and verify that the Philippines eSIM is the selected data line. If you do not need the home line during the trip, switching it off provides a simpler safeguard.
For travellers deciding between a travel eSIM and a physical tourist SIM, the practical differences are covered in our Philippines SIM versus eSIM comparison.
FAQ
Should I activate my Philippines eSIM before flying?
Install it before departure when reliable Wi-Fi is available, but follow the activation and validity rules supplied with the plan. Installation and plan activation are not always the same event.
Why is my Philippines eSIM installed but not working?
The profile may be installed while another SIM is still selected for data. Turn on the travel line, choose it for mobile data, enable Data Roaming and test with Wi-Fi switched off.
Do I need Data Roaming for a Philippines travel eSIM?
Yes, travel eSIMs commonly need Data Roaming enabled on the eSIM line because they connect through a local partner network. Keep roaming disabled on your primary SIM unless you intentionally want to use it abroad.
Can I delete and reinstall the eSIM if activation fails?
Do not delete it as a first troubleshooting step. Check the data line, roaming, APN and network registration first, and contact Support before removing the profile.
Final Recommendation
Install the Philippines eSIM on dependable Wi-Fi before the journey, then activate it according to the purchased plan. After landing, select it for mobile data, enable roaming on that line and test with Wi-Fi off. Keep tickets, addresses and the first route offline, and do not delete the profile if coverage changes between islands.