


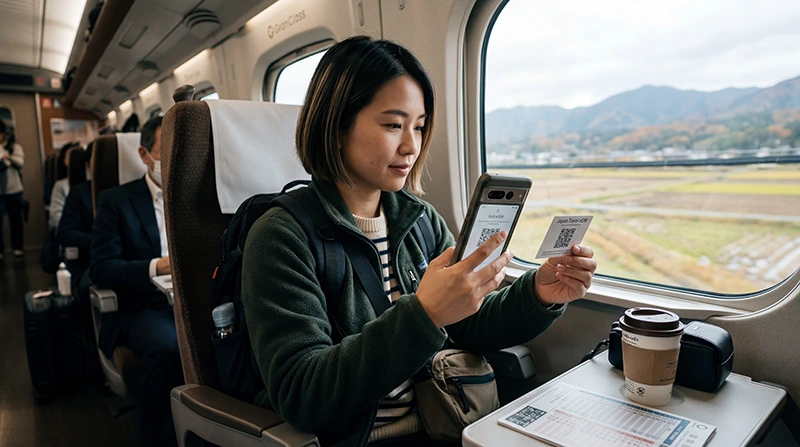

Install a Japan eSIM before departure while you have reliable Wi-Fi, but do not assume that installation and activation are the same event. The plan details determine when validity begins.
Preparing the profile at home removes QR-code scanning and account recovery from the arrival process. After landing, you normally only need to select the travel line for mobile data and follow its roaming instructions.
NoveSIM plans are data-only. They do not add a Japanese phone number, traditional calls or SMS, while internet messaging and calling apps work through mobile data.
Quick answer: Confirm that the phone is unlocked and eSIM-compatible, install the profile on Wi-Fi, label it clearly and keep it inactive for mobile data until the plan instructions say to connect. Do not delete the profile if it does not connect in Japan.
Top Japan eSIMs


What should you check before you install a Japan eSIM?
- The phone supports eSIM and is not locked to another operator.
- The plan validity covers the complete itinerary.
- You understand whether validity starts at installation or first network connection.
- You have the QR code or manual installation details available on a second screen.
- The phone has stable Wi-Fi and enough battery for setup.
Choose the plan first with the Japan eSIM comparison. If allowance is uncertain, estimate it with the Japan data-use guide.
How do you install a Japan eSIM on iPhone?
- Open Settings and select Mobile Service or Cellular.
- Tap Add eSIM.
- Select the QR-code option or enter the supplied details manually.
- Complete the prompts and label the line Japan Data.
- Keep the primary line as the default voice line if you still need it.
- Do not select the travel line for mobile data until activation is appropriate.
How do you install it on Android?
Menu names vary by manufacturer and software version, but the eSIM control is normally under network, connections or SIM settings.
- Open Settings and find SIMs, SIM Manager or Mobile Network.
- Choose the option to add an eSIM or mobile plan.
- Scan the QR code or enter the activation information.
- Label the profile and leave the home SIM selected for calls if required.
- Keep the travel profile off for mobile data until the correct activation time.
What settings should you use after landing?
- Turn on the Japan eSIM.
- Select it as the mobile-data line.
- Enable data roaming on the travel eSIM if the plan instructions require it.
- Disable data roaming on the primary SIM.
- Leave automatic network selection enabled unless support provides another instruction.
If manual APN entry is required for NoveSIM, use data.esim. The Japan APN guide explains where to check it.
What if the eSIM does not connect?
Confirm the selected data line, roaming setting, signal and APN, then restart the phone or briefly toggle aeroplane mode. Follow the ordered checks in Japan eSIM troubleshooting. Keep the installed profile; do not delete it unless NoveSIM support specifically instructs you to do so.
Related Articles
FAQ
Should I install a Japan eSIM before flying?
Yes, when the plan permits it. Install on reliable Wi-Fi and follow the stated activation trigger so validity does not begin too early.
Can I install the same QR code twice?
Do not assume that you can. Many eSIM installation codes are single-use, so keep the installed profile during troubleshooting.
Can my primary SIM stay active?
Yes on a dual-SIM phone. Disable its data roaming and select the Japan eSIM for mobile data.
Does installation require internet access?
Yes, use stable Wi-Fi while downloading and adding the profile.
Final Recommendation
Install a Japan eSIM before departure after confirming compatibility, validity and the activation trigger.
After landing, select it for mobile data, apply the required roaming setting and use data.esim only if manual NoveSIM APN entry is needed.
Keep the profile installed if connection is delayed and work through the settings before contacting support.