


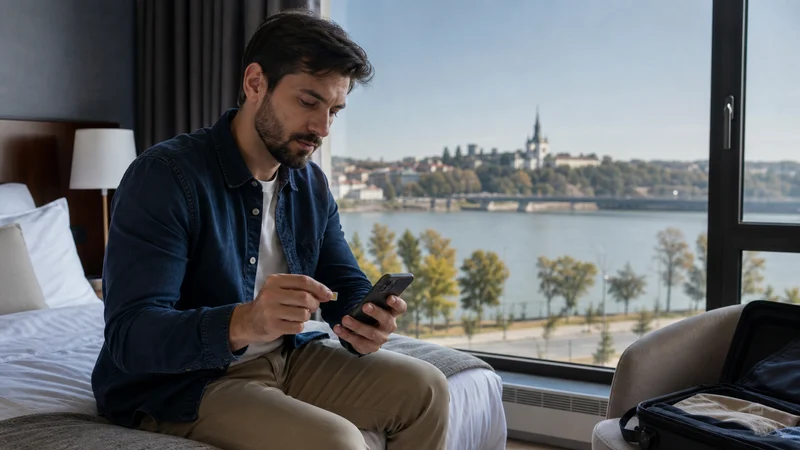

Install a Serbia eSIM while connected to reliable WiFi before departure, unless the plan instructions specify a different timing. Installation downloads the profile to the phone; it is not always the same event as starting the plan’s validity.
Prepare the QR code on another screen or in printed form, check that the handset is unlocked and preserve the installation details until the connection has been tested in Serbia.
NoveSIM Serbia plans are data-only. We do not provide a Serbian number, conventional calls or SMS. Messaging and internet-calling apps use the data connection.
Quick answer: On iPhone, use Settings → Mobile Service/Cellular → Add eSIM → Use QR Code. On Pixel, use Settings → Network & internet → SIMs → Add SIM → Set up an eSIM. On Samsung, use Settings → Connections → SIM manager → Add eSIM. Follow the supplied prompt and do not delete the profile after installation.
Top Serbia eSIMs

Serbia eSIM
Fixed
1 GB, 7 days€ 3.112 GB, 15 days€ 4.883 GB, 30 days€ 6.21Unlimited
Unlimited, 1 day€ 3.11Unlimited, 3 days€ 7.54Unlimited, 5 days€ 12.42
Balkans eSIM
Fixed
1 GB, 7 days€ 4.442 GB, 15 days€ 7.103 GB, 30 days€ 9.32Unlimited
Unlimited, 1 day€ 4.88Unlimited, 3 days€ 11.09Unlimited, 5 days€ 17.30Europe Extra eSIM
Fixed
1 GB, 7 days€ 2.222 GB, 15 days€ 3.553 GB, 30 days€ 4.44Unlimited
Unlimited, 1 day€ 2.66Unlimited, 3 days€ 5.32Unlimited, 5 days€ 8.87Europe+ eSIM
Fixed
1 GB, 7 days€ 2.662 GB, 15 days€ 3.993 GB, 30 days€ 5.32Unlimited
Unlimited, 1 day€ 2.66Unlimited, 3 days€ 6.21Unlimited, 5 days€ 10.20Check the Phone before Installation
- Confirm the exact model supports eSIM.
- Check that the phone is not locked to a home carrier.
- Update the operating system before travel, not during an urgent arrival setup.
- Connect to stable private WiFi.
- Keep the QR code and order information accessible on a second screen.
Dialling a generic code is not a reliable compatibility test for every manufacturer. Use the model number and the manufacturer’s specifications. Regional versions of the same phone family can differ.
Install the Serbia eSIM on iPhone
- Open Settings.
- Tap Mobile Service or Cellular.
- Tap Add eSIM.
- Select Use QR Code.
- Scan the supplied code or use the manual details when instructed.
- Accept the plan download and wait for it to finish.
- Label the line Serbia Data.
Apple’s menu wording varies by region and iOS version. A supported iPhone can also recognise a QR code from Mail or a browser, but a second screen avoids closing the setup flow. See the dedicated Serbia eSIM iPhone guide for Dual SIM choices.
Install on Google Pixel
- Open Settings.
- Tap Network & internet.
- Tap SIMs, then Add SIM.
- Select Set up an eSIM.
- Scan the QR code and follow the onscreen prompts.
- Name the profile clearly after it appears.
The exact path can change with Android releases. Follow the phone’s current labels rather than forcing instructions intended for Samsung.
Install on Samsung Galaxy
- Open Settings.
- Tap Connections.
- Open SIM manager.
- Tap Add eSIM.
- Select the QR-code option and scan the supplied code.
- Wait for the profile to download, then label it.
Only compatible regional variants show the eSIM option. The broader Serbia eSIM Android guide covers both Pixel and Samsung settings after installation.
Installation Is Not the Same as Arrival Activation
Installation places the profile on the device. Network activation occurs according to the purchased plan’s rule, commonly when it first connects to an eligible network. Read the current order instructions before installing because validity rules differ between products.
If the phone cannot register while you are still outside Serbia, that does not prove installation failed. Keep the line stored and wait until the destination is covered.
Set Up Both SIM Lines Clearly
Use recognisable labels such as “Home” and “Serbia Data”. Keep the primary line selected for conventional calls and SMS if required, but do not allow it to provide mobile data unless its roaming tariff has been checked.
Turn off automatic mobile-data switching. This prevents the phone from silently using the home SIM when the travel signal is temporarily weak.
What to Do after Landing
- Turn off Airplane Mode.
- Enable the Serbia eSIM.
- Select it for Mobile Data.
- Enable Data Roaming on the Serbia line.
- Leave Network Selection on Automatic.
- Wait several minutes for registration.
- Test a lightweight page or map.
For the arrival sequence rather than installation, use how to activate a Serbia eSIM.
APN and Installation Problems
Most profiles configure the APN automatically. If the supplied NoveSIM instructions require manual entry, use data.esim without a username or password. Do not replace a working automatic value merely to match a generic guide.
If the QR code is rejected, confirm that the profile is not already listed and that the phone has internet access. Do not repeatedly scan or delete an installed profile. Contact support with the order details and exact error message.
Related Articles
- Serbia eSIM plans
- Activate an eSIM in Serbia
- Serbia eSIM on iPhone
- Serbia eSIM on Android
- Serbia eSIM APN settings
FAQ
Should I install a Serbia eSIM before travelling?
Usually yes, over reliable WiFi, but first check the plan’s validity and activation rule. Installation and network activation are not always the same event.
Why does the eSIM show no service before I reach Serbia?
The plan may be unable to register outside its covered destination. Keep the installed profile and test again after arrival.
Can I scan the QR code from the same phone?
Some devices can recognise a code from email or a browser, but displaying it on another device or paper is the most reliable method.
Should I delete the eSIM if installation appears stuck?
No. Confirm whether the profile already exists and contact support before deleting it, because the QR code may not be reusable.
Final Recommendation
Install the Serbia eSIM before travel on stable WiFi after verifying compatibility, lock status and the plan’s activation rule.
Label both SIM lines and keep the travel profile stored until arrival. Select it for data only after landing and enable roaming on that line.
If installation fails, preserve the profile and error details. A controlled support check is safer than deleting an eSIM that may not be downloadable again.