


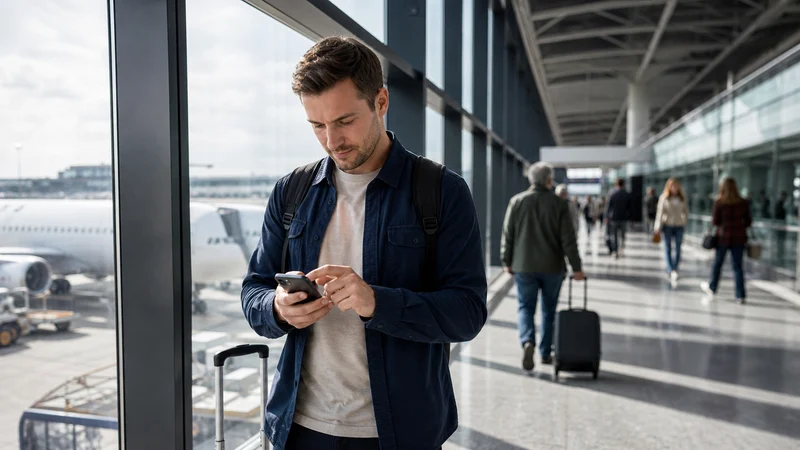

Activate a Serbia eSIM after landing by switching on the installed profile, selecting it for mobile data and enabling Data Roaming on that travel line. Leave Network Selection on Automatic and allow several minutes for the phone to register.
Activation is the first eligible network connection, not necessarily the earlier QR-code installation. The exact validity rule belongs to the purchased plan, so review the order instructions before travel.
NoveSIM Serbia plans are data-only. We do not provide a Serbian number, conventional calls or SMS. Keep the home line separately active only when you understand its roaming charges.
Quick answer: After arrival, turn off Airplane Mode, enable the Serbia eSIM, select it as the Mobile Data line, switch Data Roaming on for that eSIM and disable automatic data switching. Wait for Automatic network selection before changing any advanced setting.
Top Serbia eSIMs

Serbia eSIM
Fixed
1 GB, 7 days€ 3.112 GB, 15 days€ 4.883 GB, 30 days€ 6.21Unlimited
Unlimited, 1 day€ 3.11Unlimited, 3 days€ 7.54Unlimited, 5 days€ 12.42
Balkans eSIM
Fixed
1 GB, 7 days€ 4.442 GB, 15 days€ 7.103 GB, 30 days€ 9.32Unlimited
Unlimited, 1 day€ 4.88Unlimited, 3 days€ 11.09Unlimited, 5 days€ 17.30Europe Extra eSIM
Fixed
1 GB, 7 days€ 2.222 GB, 15 days€ 3.553 GB, 30 days€ 4.44Unlimited
Unlimited, 1 day€ 2.66Unlimited, 3 days€ 5.32Unlimited, 5 days€ 8.87Europe+ eSIM
Fixed
1 GB, 7 days€ 2.662 GB, 15 days€ 3.993 GB, 30 days€ 5.32Unlimited
Unlimited, 1 day€ 2.66Unlimited, 3 days€ 6.21Unlimited, 5 days€ 10.20Before the Aircraft Lands
Keep Airplane Mode enabled until permitted by the crew. Confirm that the eSIM is already installed, but do not judge network service while the phone is still airborne or outside Serbia.
Save the accommodation address and arrival route offline. A few minutes of network registration should not prevent you from leaving the terminal.
Activate the Travel Line on iPhone
- Open Settings and tap Mobile Service or Cellular.
- Select the Serbia eSIM and turn the line on.
- Tap Cellular Data and choose the Serbia line.
- Turn Allow Cellular Data Switching off.
- Open the Serbia line’s options and enable Data Roaming.
- Leave Network Selection on Automatic.
Menu names can vary by iOS region. Use the Serbia iPhone guide for the complete Dual SIM setup.
Activate on Pixel or Samsung
On Pixel, open Settings → Network & internet → SIMs, switch on the eSIM, select it for Mobile data and enable roaming. On Samsung, open Settings → Connections → SIM manager, enable the eSIM and select it as the preferred Mobile data SIM; then open Mobile networks to confirm Data roaming.
Android labels vary by manufacturer. Do not copy a Samsung-only menu path onto a Pixel. The Serbia Android guide keeps the two flows separate.
How Long Should Registration Take?
Registration often completes within a few minutes, but it may take longer immediately after the phone leaves Airplane Mode or enters coverage. Wait in an open part of the terminal before assuming there is a fault.
The network name may use a technical or legacy identifier. Successful data is more important than whether the label matches a current consumer brand exactly.
Confirm That the Correct SIM Provides Data
Open a map or lightweight webpage with WiFi turned off. Then check the phone’s data-line indicator. If the home SIM is selected, change it immediately and review whether any roaming usage occurred.
Do not use a conventional call as the main test because NoveSIM plans are data-only. Test messaging or an internet call instead.
If the eSIM Does Not Activate
- Confirm that the plan includes Serbia and has not expired.
- Verify that the eSIM is enabled and selected for Mobile Data.
- Enable Data Roaming on the travel line.
- Disable automatic data switching.
- Toggle Airplane Mode for about 30 seconds.
- Restart the phone and wait for registration.
- Check the APN only after the line settings are correct.
Most profiles configure the APN automatically. When manual NoveSIM entry is required, use data.esim without a username or password.
When Manual Network Selection Is Appropriate
Keep Automatic selection as the default. If registration still fails and the plan documentation lists supported Serbian networks, test those networks individually while stationary.
An operator visible in the scan list is not necessarily authorised for the eSIM. See manual network selection in Serbia before locking the phone to one network.
Do Not Delete the Installed Profile
Deleting an eSIM is not an ordinary restart. A QR code may be single-use, and removing the profile can turn a settings issue into a reinstall problem. Keep it installed unless support specifically instructs otherwise.
Record the phone model, location, displayed network, APN and error message before contacting support.
Related Articles
- Install an eSIM for Serbia
- Serbia eSIM on iPhone
- Serbia eSIM on Android
- Manual network selection
- Serbia eSIM APN settings
FAQ
When should I activate my Serbia eSIM?
Follow the plan’s activation rule. For normal arrival setup, select and enable the installed travel line after landing where an eligible Serbian network is available.
Why is the eSIM installed but not active?
Installation only stores the profile. The line may still need to be enabled, selected for data and connected to a supported network in Serbia.
Does Data Roaming need to be on?
Yes, for the travel eSIM line. Keep roaming off on the home SIM unless you intentionally purchased a suitable home-carrier package.
Can I activate the eSIM without WiFi?
Network use after installation does not require WiFi, but downloading the profile is safest on a stable internet connection before travel.
Final Recommendation
Activate the Serbia eSIM only after confirming the plan’s validity rule and arriving within its coverage.
Select the travel line for data, enable roaming on that line and leave automatic network selection time to complete registration.
If service does not begin, check one setting at a time and preserve the installed profile. Do not delete the eSIM during routine activation troubleshooting.