


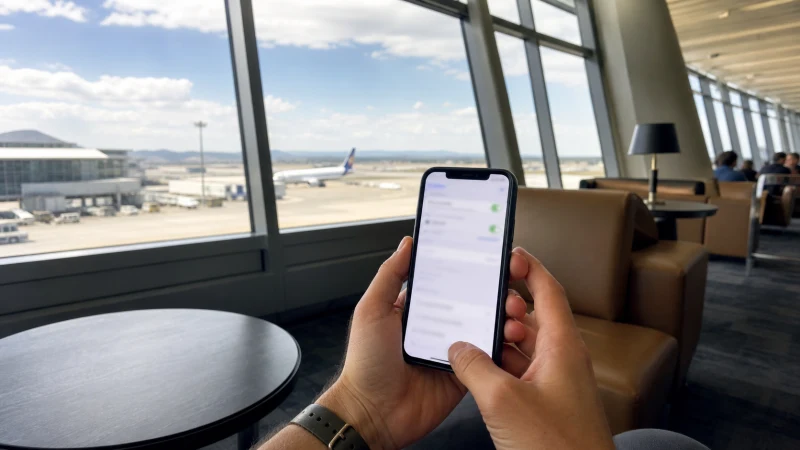

Using a Namibia eSIM on iPhone depends on installation, line labels and Cellular Data settings. Check the current plan and actual itinerary because mobile service can change from one stop to the next.
Save the route and essential confirmations outside a single app before depending on mobile data. This matters especially before a remote drive or after leaving a connected town.
The Namibia eSIM carries internet traffic, while ordinary calls and SMS can remain on another suitable line. Available networks, hotspot use and reception depend on the current plan and a compatible phone.
Quick answer: Complete installation on secure Wi-Fi, follow the plan’s activation rule and keep the Primary and Travel lines clearly labelled. Use data.esim only when manual APN entry is required.
Top Namibia eSIMs


What travellers should know about using a Namibia eSIM on iPhone
Open Settings, General and About to identify the exact model and look for EID. Then open Cellular or Mobile Service and confirm Add eSIM is available. Carrier Lock should report no SIM restrictions before a travel profile is installed.
Install the Namibia eSIM on dependable Wi-Fi
Open Add eSIM, scan the private QR code once and allow iPhone to add the plan. Label it Travel and keep the primary line label clear. Installation can be completed before departure, but the live plan determines when validity or activation begins.
Choose the correct iPhone data line
Under Cellular Data, select Travel and turn off Allow Cellular Data Switching. Open the Travel line, enable it and turn on Data Roaming when partner access requires it. Keep roaming off on Primary unless its cost is understood.
Test iPhone data without removing the eSIM
After arrival, allow Automatic Network Selection time to register and open a normal webpage. If the line registers without data, check whether manual APN data.esim is required. Preserve the profile while contacting NoveSIM Support.
Plan for the weakest part of the route
Use the Namibia plan listing as the authority when checking installation, line labels and Cellular Data settings. Then read How to Activate Your Namibia eSIM for the related travel preparation.
Before departure, compare the live plan with the needs that matter here: installation, line labels and Cellular Data settings. Read the high-speed allowance, validity period, activation rule and hotspot terms together rather than treating one feature in isolation. Confirm that the exact handset is unlocked and eSIM-compatible. Keep the installation details somewhere another device can display them. Current product information is more dependable than an old screenshot, a remembered description or a general promise about nationwide coverage.
- Confirm the exact handset is unlocked and supports eSIM.
- Keep the installation details private and available on another device.
- Download the first route, address and booking reference.
- Carry enough power for the longest planned transfer.
- Pause automatic updates, cloud backup and large media downloads.
Review automatic data switching
Use Does My Phone Support an eSIM for Namibia? to check the phone, then follow How to Install an eSIM for Namibia Before You Travel for the next setup stage. Give the two SIM lines clear names before changing mobile-data preferences.
- Confirm that the travel eSIM is visible and enabled.
- Select Travel as the Mobile Data line.
- Enable Data Roaming on Travel and keep it off on Primary unless home-carrier costs are understood.
- Disable automatic data switching.
- Allow Automatic Network Selection time to register.
- Use data.esim only when manual NoveSIM APN entry is required.
Record the fault before another settings change
If mobile data stops, follow Namibia eSIM Not Working? Safe Troubleshooting Steps. Confirm the plan state, signal and selected data line before trying Airplane Mode or one normal restart, and leave the eSIM installed.
Keep the order reference, exact phone model and current location ready for Support. Preserve the original settings wherever possible so the cause remains visible.
Test one ordinary travel task
Open an ordinary webpage or travel app that will be needed later and confirm that current information loads. Test it over cellular data with Wi-Fi disabled. Check the task at its intended location and remember that moving indoors or beyond town can change the connection. Keep essential details outside the live connection and record whether the ordinary task succeeds. A failed result in Namibia should be documented before another setting is changed or the profile is removed.
Related Articles
- Namibia eSIM APN Settings: How to Use data.esim
- How to Select a Network Manually with a Namibia eSIM
- Slow Mobile Data in Namibia? Practical Fixes
- How to Use a Namibia eSIM on Android
- Namibia eSIM Coverage: Towns, Highways and Remote Routes
- Mobile Networks in Namibia: A Visitor’s Guide
- Can You Use a Hotspot with a Namibia eSIM?
- Mobile Data in Namibia: What Travellers Need to Know
- Can Tourists Use 3G in Namibia?
FAQ
What is the practical answer?
Complete installation on secure Wi-Fi, follow the plan’s activation rule and keep the Primary and Travel lines clearly labelled. Use data.esim only when manual APN entry is required.
Does a Namibia eSIM include a local number?
No. NoveSIM supplies mobile data but no Namibian number, ordinary voice minutes or carrier SMS. Messaging and internet-calling apps use the data connection.
Should Data Roaming be enabled?
Enable Data Roaming on the Namibia travel eSIM when partner access requires it. Keep roaming off on the primary line unless the home carrier’s charges are understood.
Should a non-working eSIM be deleted?
No. Preserve the installed profile and complete only reversible checks. If data still fails, give NoveSIM Support the phone model, location and visible network status.
Final Recommendation
Using a Namibia eSIM on iPhone requires attention to installation, line labels and Cellular Data settings, especially on the weakest important part of the route. Check the current plan and compatible phone again before travel.
Install the eSIM on a trusted connection, save the next route locally and test a normal online task in Namibia. Do not use that result to predict every remote stop.
Select Travel for Mobile Data, prevent automatic fallback to the home SIM and retain the installed profile during troubleshooting. These steps make the connection easier to manage without overstating coverage.