


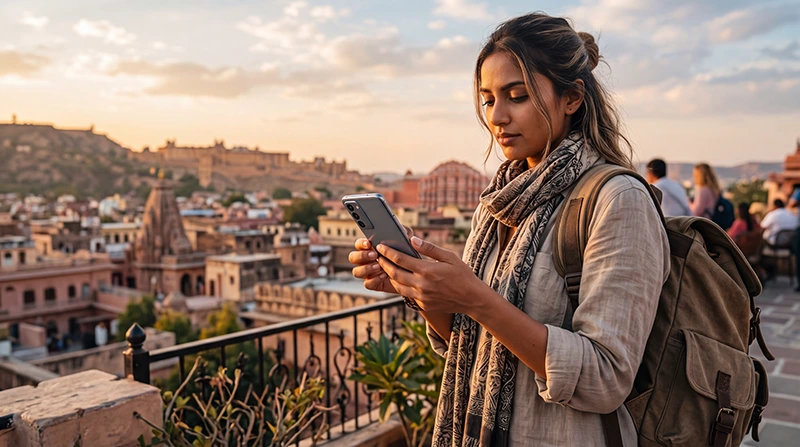

Using an India eSIM on an Android phone is one of the easiest ways to get mobile internet during your trip. You can install the digital SIM before departure, keep your regular SIM card active and connect shortly after arriving in India.
Whether you are visiting Delhi, Mumbai, Jaipur, Agra, Goa, Kerala, Bengaluru or another destination, mobile data helps you use Google Maps, WhatsApp, hotel bookings, transport apps and other essential travel services.
Quick answer: install your India eSIM while connected to WiFi before departure. After landing, enable the eSIM, select it for Mobile Data and turn on Data Roaming.
Top India eSIMs


Can Android Phones Use an India eSIM?
Many recent Android phones support eSIM, but compatibility depends on the manufacturer, model, region and mobile carrier. Two phones with similar names may have different eSIM capabilities.
| Android Brand | Common eSIM-Compatible Series |
|---|---|
| Samsung | Selected Galaxy S, Z Fold and Z Flip models |
| Most recent Pixel models | |
| Motorola | Selected Razr and Edge models |
| OnePlus | Selected newer models and regional variants |
| Honor | Selected Magic series models |
| Xiaomi | Selected premium models and regional versions |
Always check your exact model before purchasing because some regional versions do not include eSIM support.
How to Check Whether Your Android Supports eSIM
Open your phone settings and look for an option such as Add eSIM, Download a SIM, Add Mobile Plan or Add SIM.
The menu location may appear under:
- Settings → Network & Internet → SIMs.
- Settings → Connections → SIM Manager.
- Settings → Mobile Network → SIM Management.
- Settings → Network & Internet → Mobile Network.
You can also dial *#06#. If the device displays an EID number, it normally supports eSIM.
Your phone must also be network unlocked. A carrier-locked device may reject travel eSIM profiles even when the hardware supports eSIM.
Why Use an India eSIM on Android?
- Install it before departure.
- No physical SIM card replacement.
- Avoid airport SIM card queues.
- Keep your regular SIM active.
- Use mobile data shortly after arrival.
- Ideal for Dual SIM Android phones.
- Continue using WhatsApp with your existing number.
How to Install an India eSIM on Samsung
- Connect the phone to reliable WiFi.
- Open Settings.
- Select Connections.
- Open SIM Manager.
- Tap Add eSIM.
- Select the option to scan a QR code.
- Scan the QR code supplied after purchase.
- Wait for the mobile plan to download.
- Label the profile India, Travel or NoveSIM.
How to Install an India eSIM on Google Pixel
- Connect the Pixel to WiFi.
- Open Settings.
- Select Network & Internet.
- Tap SIMs.
- Select Add SIM.
- Choose Set up an eSIM.
- Scan the supplied QR code.
- Wait for installation to finish.
How to Install an eSIM on Other Android Phones
The wording differs between manufacturers, but the process is usually similar:
- Connect to WiFi.
- Open the SIM or Mobile Network settings.
- Select Add eSIM, Download SIM or Add Mobile Plan.
- Scan the QR code.
- Confirm the installation.
- Label the new data line clearly.
Your QR code and installation instructions are sent by email after purchase. They are also available in your NoveSIM account within the relevant order.
Do not delete the eSIM after installation. Many QR codes can only be used once.
How to Activate the India eSIM After Arrival
- Open your SIM or Mobile Network settings.
- Enable the India eSIM.
- Select it as the preferred SIM for Mobile Data.
- Turn on Data Roaming for the India eSIM.
- Turn off Automatic Data Switching.
- Keep Network Selection on Automatic.
- Wait several minutes for network registration.
Your phone should connect automatically to a supported Indian mobile network.
Recommended Android Settings
| Setting | Recommended Value |
|---|---|
| India eSIM | Enabled |
| Mobile Data | India eSIM |
| Calls | Primary SIM |
| SMS | Primary SIM |
| Data Roaming on India eSIM | On |
| Data Roaming on primary SIM | Off |
| Automatic Data Switching | Off |
| Network Selection | Automatic |
| Preferred Network Type | 5G Auto or 4G/LTE |
| APN | data.esim if required |
India eSIM APN Settings for Android
Most Android phones configure the APN automatically. If the eSIM shows signal but websites and applications do not load, create or edit the APN manually.
| Field | Value |
|---|---|
| Name | NoveSIM |
| APN | data.esim |
| Username | Leave blank |
| Password | Leave blank |
| Authentication Type | None |
| APN Type | default,supl if required |
Save the APN and make sure it is selected for the India eSIM. Then activate Airplane Mode for approximately 30 seconds or restart the phone.
Can You Keep Your Regular SIM Active?
Yes. Most Dual SIM Android devices allow you to keep your primary SIM active for calls, SMS and verification codes while the India eSIM provides mobile data.
To reduce the risk of roaming charges, disable Data Roaming on your primary SIM and turn off automatic mobile data switching.
Does WhatsApp Work with an India eSIM?
Yes. WhatsApp continues using your existing registered number even when the India eSIM is selected for Mobile Data.
You do not need to change your WhatsApp number. Messages, voice calls and video calls work through the eSIM internet connection.
Can You Use Personal Hotspot?
Personal Hotspot availability depends on the selected eSIM plan and Android device. When supported, you can share your connection with a laptop, tablet or another phone.
Hotspot use can consume data quickly, particularly during video meetings, cloud backups and software updates.
What If the India eSIM Is Not Working?
- Confirm that the India eSIM is enabled.
- Select it for Mobile Data.
- Turn on Data Roaming for the eSIM.
- Turn off Automatic Data Switching.
- Keep Network Selection on Automatic.
- Confirm that the APN is data.esim.
- Turn Airplane Mode on for 30 seconds.
- Turn Airplane Mode off.
- Restart the phone.
Do not delete the eSIM while troubleshooting. If the phone is connected to an unstable 5G signal, try selecting 4G/LTE temporarily.
Android eSIM Travel Tips
- Install your eSIM before departure.
- Check compatibility using the exact model number.
- Confirm that the device is unlocked.
- Keep the QR code and installation details available.
- Download offline Google Maps.
- Carry a power bank.
- Disable roaming on your primary SIM.
- Use WiFi for large application updates.
Related India Guides
- India eSIM
- India eSIM for iPhone
- Does My Phone Support eSIM in India?
- Install an India eSIM
- Activate an India eSIM
- India eSIM APN Settings
- India eSIM Not Working
FAQ
Can I use an India eSIM on an Android phone?
Yes, provided the exact Android model supports eSIM and is not locked to a mobile carrier.
How can I check whether my Android supports eSIM?
Look for Add eSIM or Download SIM in the phone settings, or dial *#06# and check whether an EID appears.
Should I install the eSIM before travelling?
Yes. Install it before departure while connected to reliable WiFi, but keep the profile installed until you arrive.
Do I need Data Roaming enabled?
Yes. Enable Data Roaming on the India eSIM and keep it disabled on your primary SIM.
Will WhatsApp keep my existing number?
Yes. WhatsApp continues using your current number while the India eSIM provides mobile internet.
What APN should I use?
If manual configuration is required for a NoveSIM India eSIM, use data.esim.
Final Recommendation
An India eSIM is one of the easiest ways to stay connected when travelling with an Android phone. It allows you to install your mobile data plan before departure, keep your primary SIM active and avoid searching for a physical SIM card after landing.
After arriving, enable the India eSIM, select it for Mobile Data, turn on Data Roaming and disable Automatic Data Switching.
If mobile internet does not work, confirm that the APN is data.esim, activate Airplane Mode for 30 seconds and restart the phone.