


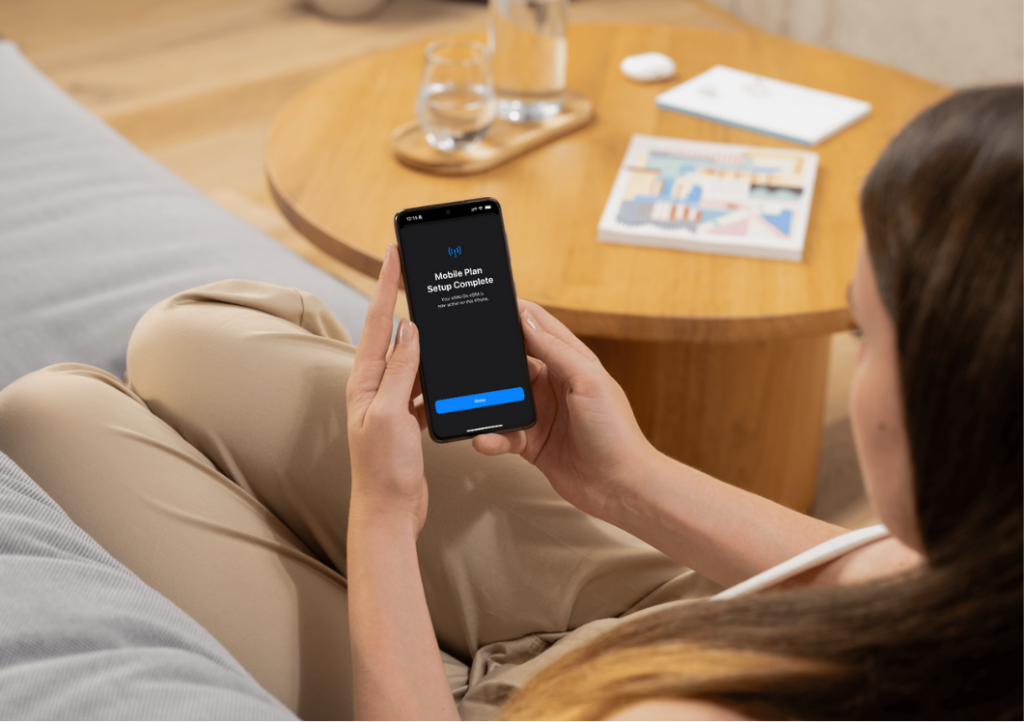

An eSIM works by downloading a mobile-network profile to a compatible phone instead of inserting a removable plastic SIM card. The profile tells the device which mobile service it may use and provides the credentials needed to authenticate on the network.
For a traveller, the practical process is straightforward: check that the phone supports eSIM and is unlocked, buy a plan for the destination, install the supplied profile, then select that profile for mobile data when the trip begins. Installation, plan activation and the first successful network connection are related events, but they are not always the same moment.
NoveSIM travel eSIMs are data-only. We do not provide a local phone number or conventional calls and SMS, so the primary SIM can remain available for services tied to the usual number while the travel eSIM handles mobile data.
Quick answer: An eSIM provider issues a digital profile, usually through a QR code or manual installation details. Your phone securely downloads and stores that profile. When the line is enabled and selected for mobile data, the phone authenticates with an eligible partner network and connects in much the same way as it would with a physical SIM.
Top eSIMs

What an eSIM actually changes
A physical SIM and an eSIM serve the same basic purpose: they identify an authorised mobile subscription to a network. The difference is how that subscription reaches the device. A physical SIM stores it on a removable card; an eSIM stores a downloadable profile on secure hardware built into the phone.
An eSIM is therefore not simply a mobile app, and the QR code is not the service itself. The app, email or account page may deliver the installation details, but the usable mobile plan is the profile installed in the device’s SIM settings. Many compatible phones can store several profiles, although the number that can be active at the same time depends on the model and carrier support.
Before purchasing, check the exact model in the eSIM-compatible device list. A phone may support eSIM technically but still be locked to its original carrier, which can prevent a travel profile from connecting.
How an eSIM works step by step
1. Confirm compatibility and carrier-unlocked status
Start with the exact device model, not just the product family. Regional versions of the same phone can have different SIM capabilities. Confirm that an eSIM option appears in the mobile or cellular settings and that the device is not restricted to another carrier. If there is uncertainty about a lock, the original carrier is the party that can confirm or remove it.
2. Choose a plan for the destination
Select a plan that explicitly covers every country in the itinerary and check its data allowance, validity period and activation terms. A single-country plan can be suitable for a direct trip, while a regional plan may be easier when crossing borders. The plan page, rather than a general assumption about eSIMs, determines the included destinations and validity.
3. Receive the installation details
After purchase, the provider issues the information needed to obtain the profile. This is commonly presented as a QR code, but supported phones may also accept a manual activation code or an in-app installation. Keep these details private: they are intended for the device that will use the plan.
4. Download and install the profile
Connect the phone to stable, private Wi-Fi before installation. On an iPhone, the route normally begins under Settings > Mobile Service/Cellular > Add eSIM; see the full iPhone eSIM installation guide. Android wording varies by manufacturer, so follow the relevant Android eSIM installation steps.
Scanning the QR code directs the phone to the provider’s profile-delivery system. The device then downloads the authorised profile and stores it in the eSIM hardware. Allow the process to finish without closing Settings, switching off the phone or repeatedly scanning the code.
5. Label the new line clearly
Give the profile a recognisable name such as “Travel data” or the destination. This simple step reduces mistakes when the phone asks which line should provide mobile data, calls or messages. It is especially useful when several old travel profiles remain stored on the device.
6. Apply the correct travel settings
When the plan should begin, turn on the travel line and select it for mobile data. Enable data roaming on the travel eSIM when the plan instructions require it; roaming here allows the profile to use its contracted partner network and does not create charges from the primary carrier. To avoid accidental home-carrier data, turn off data roaming for the primary line and disable any automatic mobile-data switching feature.
Most profiles configure the access point automatically. If the NoveSIM instructions require a manual APN, enter data.esim for the travel line and leave unrelated fields unchanged. The detailed checks are covered in the eSIM APN guide.
7. The phone authenticates and connects
Once the profile is enabled in a covered location, the phone searches for an eligible network. It presents the subscription credentials stored in the profile, the network validates them, and a mobile-data session is established. Automatic network selection is normally the best starting point because it lets the phone choose an approved available partner.
Seeing signal bars only confirms radio access; it does not always prove that data is configured correctly. If pages do not load, verify the selected data line, roaming setting and APN before changing networks manually.
Installation, activation and connection are different
| Stage | What happens | What the traveller should check |
|---|---|---|
| Installation | The digital profile is downloaded and added to the phone. | The profile appears in SIM or cellular settings. |
| Activation | The plan becomes valid under the provider’s stated activation rule. | Whether validity starts at installation, on first connection or on a specified date. |
| Connection | The enabled profile registers on an eligible network and starts a data session. | The travel eSIM is selected for data and the required roaming/APN settings are correct. |
This distinction explains why an installed profile may show “activating” before arrival or why a line can be present in Settings without yet providing data. Always use the plan-specific instructions when deciding how early to install it. The broader purchase-to-connection journey is also explained on How NoveSIM works.
How eSIM works alongside a physical SIM
On a dual-SIM phone, the physical SIM and travel eSIM can often remain installed together. The phone lets you assign different roles to each line: for example, the usual SIM can remain the default for calls and SMS while the eSIM supplies mobile data. Whether both lines can be active simultaneously depends on the device.
Keeping the primary line enabled may be useful for receiving bank verification messages or calls, but the home carrier can charge for roaming services. Review that carrier’s rates and settings independently. For a practical setup, follow the guide to using an eSIM without removing the old SIM.
What the QR code and activation details contain
The QR code normally encodes installation information that helps the phone locate and request the assigned profile. In consumer eSIM architecture, the profile is downloaded from a remote subscription-management system to the device. The QR code does not contain mobile data, improve reception or act as a network antenna.
Treat the code as a one-device credential. Do not post it publicly or scan it on a different phone as a test. Some codes are designed for a single successful installation, and moving an installed profile to another device is not automatically supported.
What to do if the eSIM does not connect
First confirm that the traveller is already inside the covered destination and that the plan is valid. Then check, in this order:
- The travel profile is switched on.
- It is selected as the mobile-data line.
- Data roaming is enabled for that profile if instructed.
- The APN is automatic or matches the supplied value.
- Automatic network selection is enabled.
After correcting a setting, toggle airplane mode for about 30 seconds or restart the phone so it attempts a fresh registration. Do not delete the eSIM as a first troubleshooting step. Deletion can remove a profile that cannot be downloaded again without provider assistance.
Can an eSIM be switched off or moved?
A stored profile can normally be turned off without being deleted. This is useful before departure, between trips or while testing which line supplies data. Turning the line off preserves the profile, but it does not necessarily pause an already-started validity period. See when an eSIM can be turned off and used later.
Transfer rules vary. Some carrier subscriptions support a device-to-device transfer, while many travel eSIM profiles are issued for one installation on one device. Never erase the original profile until the provider confirms that a transfer or replacement is available.
Related Articles
- Check whether your phone supports eSIM
- How NoveSIM works from purchase to travel
- How to install an eSIM on iPhone
- How to install an eSIM on Android
Frequently Asked Questions
Does an eSIM need internet access to install?
Yes. The phone needs an internet connection to contact the profile-delivery service and download the eSIM. Stable private Wi-Fi is the safest choice. After installation, the eSIM can provide mobile data once it is enabled, valid and connected to a covered network.
Does an eSIM activate as soon as it is installed?
Not always. Activation rules depend on the specific plan. Validity may start on installation, on the first connection to a supported network or on a stated date. Check the plan instructions before installing early.
Can an eSIM work while a physical SIM remains in the phone?
Usually, on a compatible dual-SIM device. The physical SIM can remain assigned to calls and messages while the eSIM supplies travel data. The exact number of active lines and available controls depends on the phone model.
Can I delete an eSIM and reinstall it later?
Do not assume so. Some travel profiles cannot be downloaded again after deletion. Turn the line off when it is temporarily unnecessary, and delete it only after the trip is complete or support confirms that reinstallation is possible.
Final Recommendation
Think of an eSIM as a downloadable network subscription, not as an app or a source of free connectivity. The phone still needs compatible hardware, an unlocked status, a valid plan and access to a supported network.
Install over reliable Wi-Fi, label the profile, and verify the plan’s activation rule before travelling. At the destination, select the eSIM for mobile data, apply the required roaming and APN settings, and keep automatic network selection enabled initially.
Keep the profile installed until the trip and any troubleshooting are complete. If the connection fails, work through the data-line, roaming, APN and network-selection checks before contacting support, and never delete the eSIM as the first fix.