


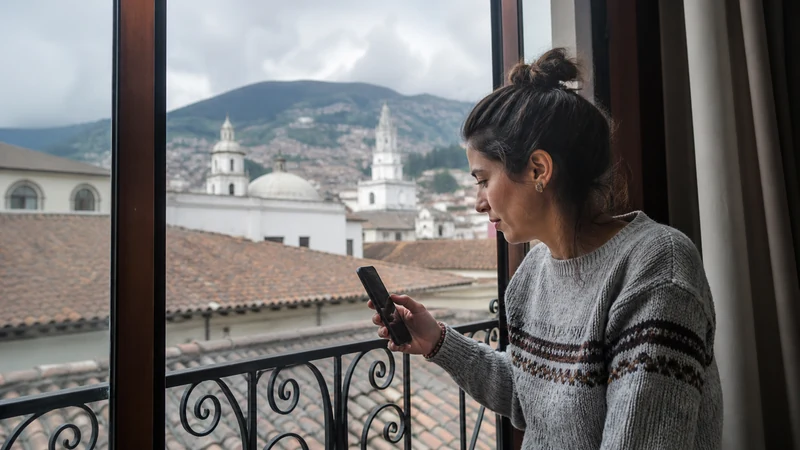

Install an eSIM for Ecuador over stable private Wi-Fi before departure when the plan instructions allow it. This adds the profile to the phone and avoids depending on an airport connection to scan the QR code.
Installation is not the same as activation or network connection. Adding the profile stores it on the device; the plan’s validity follows its own terms, and mobile registration occurs after the enabled line reaches a supported network.
NoveSIM Ecuador plans are data-only. They do not include an Ecuadorian number, conventional calls or SMS, although internet calling and messaging apps work through mobile data.
Quick answer: Confirm that the exact phone is eSIM-compatible and unlocked, connect it to private Wi-Fi, open Add eSIM or Add Mobile Plan, scan the private QR code or use the supplied activation method, and label the new profile Ecuador Data. Do not delete or reinstall the profile if it appears successfully.
Top Ecuador eSIMs

Ecuador eSIM
Fixed
1 GB, 7 days€ 4.442 GB, 15 days€ 7.543 GB, 30 days€ 10.20Unlimited
Unlimited, 1 day€ 4.88Unlimited, 3 days€ 8.43Unlimited, 5 days€ 11.98
Before you install an eSIM for Ecuador
| Check | Why it matters |
|---|---|
| Exact phone model supports eSIM | Regional variants of the same device family can differ. |
| Phone is carrier-unlocked | A locked device may reject a profile from another provider. |
| Stable private Wi-Fi is available | The phone needs internet while downloading the eSIM profile. |
| Order email or NoveSIM account is accessible | The QR code, activation link and instructions must be available. |
| Plan timing is understood | Installation and validity may not start at the same event. |
| QR code remains private | It is an activation credential and may be intended for one installation. |
Check the exact handset on the NoveSIM compatible-device list. Then open the live Ecuador eSIM plan page and confirm the selected validity, allowance and destination.
Where to find the installation details
After purchase, NoveSIM provides the eSIM information by email and makes order details available in the customer account. Depending on the device and order, installation may use a QR code, a quick activation link or manual activation details.
Display the QR code on a second screen or printed page when scanning with the phone that will use the eSIM. Do not post screenshots publicly, forward the code unnecessarily or try to install the same profile on several devices.
Install an Ecuador eSIM on iPhone
- Connect the iPhone to stable private Wi-Fi.
- Open Settings.
- Select Cellular or Mobile Service.
- Tap Add eSIM.
- Choose Use QR Code, or use the quick activation method supplied with the order.
- Scan the QR code displayed on another device or enter the supplied details.
- Follow the prompts until the new cellular plan appears.
- Label the line Ecuador Data or another unambiguous name.
- Keep the home line as the voice line if required, but do not enable home-line roaming.
iPhone menu wording can vary by iOS version and region. The global iPhone eSIM installation guide provides the broader device sequence.
Install an Ecuador eSIM on Android
- Connect the Android phone to stable private Wi-Fi.
- Open Settings.
- Select Network & Internet, Connections or SIM Manager.
- Choose Add eSIM, Add Mobile Plan or Download SIM.
- Scan the NoveSIM QR code or use the supplied activation method.
- Approve the profile download and wait until it appears under SIMs.
- Label it Ecuador Data.
- Leave the profile installed even if it does not register before arrival.
Samsung, Google Pixel and other Android manufacturers use different menu names. The Android eSIM installation guide covers common paths.
What to select during installation
If the phone asks for default lines before travel, keep the home SIM for calls and SMS when the usual number is still needed. The Ecuador eSIM will later become the mobile-data line.
Do not allow automatic cellular-data switching. Otherwise, the phone may fall back to home-carrier roaming data when the Ecuador line has weak signal. Review the Ecuador Dual SIM settings before departure.
How to confirm installation succeeded
- The Ecuador profile appears under Cellular, Mobile Network or SIM Manager.
- The line has a clear label that distinguishes it from the home SIM.
- The phone does not continue asking to scan the QR code.
- The profile can be opened to show its data and roaming controls.
- The order details remain stored securely for reference.
No Service before arrival does not necessarily mean installation failed. The Ecuador profile may be unable to register until it reaches a supported network and its activation conditions are met.
Installation versus activation in Ecuador
After landing, enable the Ecuador line, select it for mobile data and turn on Data Roaming for that line. Keep Data Roaming off for the home SIM, leave network selection on Automatic and test with Wi-Fi switched off.
Use the separate Ecuador eSIM activation guide for the arrival sequence. Keeping the two tasks separate prevents an already installed profile from being scanned again unnecessarily.
If the QR code does not scan
- Increase the brightness and size of the QR code on the second screen.
- Clean the phone camera and keep the complete code inside the frame.
- Confirm that the phone has working Wi-Fi.
- Try the supplied quick activation link or manual details if available.
- Record the exact error message.
- Check whether the profile already appears in SIM settings.
A message that the code is invalid, expired or already used should be sent to NoveSIM Support with the order number and exact model. Do not repeatedly scan it on other phones.
Do not delete a successfully installed profile
Deleting an eSIM is not equivalent to restarting it. The activation code may not be reusable, so removal can turn a settings issue into a new installation problem.
If the profile is installed but mobile data later fails, keep it and use the Ecuador eSIM troubleshooting guide. Leave the APN automatic when data works; if NoveSIM instructions require manual entry, use data.esim.
Related Articles
FAQ
Should I install my Ecuador eSIM before travelling?
Usually yes, when the plan instructions permit it. Installing over reliable Wi-Fi before departure avoids depending on an airport connection.
Does installing the eSIM start its validity?
Not necessarily. Activation and validity rules vary by plan, so follow the exact NoveSIM order instructions.
Why does the installed Ecuador eSIM show No Service at home?
It may not have access to a supported Ecuador network before arrival. A visible installed profile is different from local network registration.
Can I scan the Ecuador eSIM QR code twice?
Do not assume so. The code may be intended for one installation. If the profile already appears, keep it and contact support instead of scanning again.
Final Recommendation
Install eSIM service for Ecuador over stable private Wi-Fi after confirming compatibility, unlocked status and the plan’s timing instructions.
Label the new line clearly, keep the QR code private and leave the profile installed after it appears successfully.
Complete activation and mobile-data settings after arrival rather than treating installation, validity and network registration as the same event.