


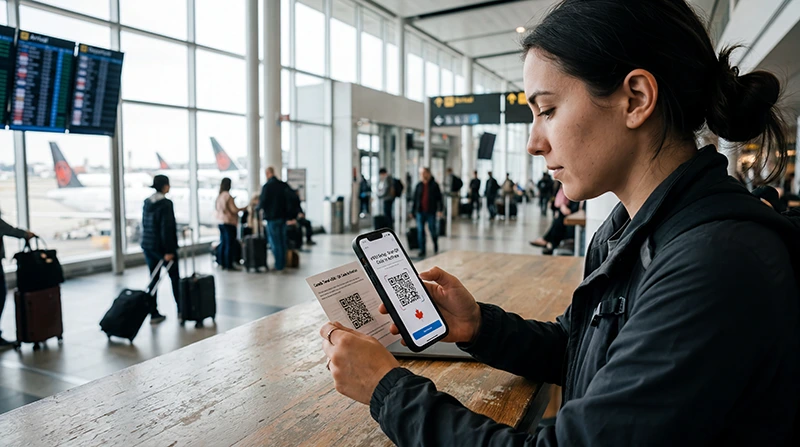

Installing a Canada eSIM means adding its profile to a compatible unlocked phone. It does not necessarily start the plan, connect to a Canadian network or assign the eSIM as the mobile-data line. Those actions belong to the activation stage.
You normally install with a QR code or with manual activation details supplied after purchase. Use dependable private Wi-Fi, keep the code private and follow the instructions for the exact plan. A QR code may be intended for one installation only.
NoveSIM travel eSIMs are data-only. We do not provide a Canadian phone number or conventional cellular calls and SMS with these plans. Installing the profile does not replace your existing SIM unless you deliberately remove or disable that line.
Quick answer: Confirm that the phone supports eSIM and is carrier-unlocked, connect it to stable Wi-Fi, then open Add eSIM in the device’s mobile-network settings. Scan the supplied QR code from another screen or enter the manual details exactly. Complete the prompts, label the new profile “Canada” or “Travel,” and verify that it appears in the SIM list. Do not scan the code again or delete the profile after a successful installation.
Top Canada eSIMs

Canada eSIM
Fixed
1 GB, 7 days€ 3.992 GB, 15 days€ 6.663 GB, 30 days€ 9.76Unlimited
Unlimited, 1 day€ 5.32Unlimited, 3 days€ 15.09Unlimited, 5 days€ 23.52
Check Compatibility before Opening the QR Code
Confirm the exact phone model, including its regional variant, on the NoveSIM compatible-device list. Some model families are sold in configurations with different eSIM support, so the full model number matters.
The phone must also be carrier-unlocked. On iPhone, Settings > General > About commonly shows Carrier Lock; “No SIM restrictions” indicates an unlocked device. Android does not offer one universal label, so verify the status through the original carrier or the device account.
If the phone is locked, the carrier responsible for the restriction must remove it. NoveSIM cannot unlock the handset, and purchasing another eSIM will not bypass the lock.
Prepare a Safe Installation Session
- Connect the phone to dependable private Wi-Fi.
- Charge the device or keep it connected to power.
- Display the QR code on a second device or print it clearly.
- Keep the order number and manual activation information available privately.
- Read the plan’s validity and activation rule before proceeding.
Do not publish or forward the QR code. Treat it like a credential. If you received the code by email, open it on a laptop, tablet or another phone so the device being configured can scan it with the camera.
Installation and activation can be separate, but products do not all start validity in the same way. If the plan begins on installation or manual activation, installing too early could reduce the useful travel period. Use the rule supplied with the exact purchase.
Install the Canada eSIM on iPhone
- Open Settings > Cellular or Settings > Mobile Service.
- Select Add eSIM.
- Choose Use QR Code and scan the supplied code from another screen.
- If you received manual information instead, choose the option to enter details manually.
- Follow the prompts until the new cellular plan appears in the SIM list.
- Label the profile “Canada” or “Travel” so it cannot be confused with the primary line.
At the end of this process, the profile should be visible under Cellular or Mobile Service. You do not need to test mobile data immediately if you are outside the plan’s supported area or its instructions say to wait before activation.
For iPhone-specific compatibility, line selection and dual-SIM controls, continue with the Canada eSIM for iPhone guide.
Install the Canada eSIM on Samsung
On many recent Samsung devices, open Settings > Connections > SIM manager and select Add eSIM. Choose the QR-code option, scan the supplied code and complete the on-screen prompts.
Samsung’s menu names can vary by One UI version and model. If Add eSIM is not visible, use Settings search for “eSIM” or “SIM manager” and confirm the exact device variant before assuming that the code is faulty.
When the plan appears in SIM manager, give it a clear label. Do not remove it if it does not yet connect outside Canada; a successfully installed profile can remain dormant until activation is appropriate.
Install the Canada eSIM on Google Pixel
On many Pixel phones, open Settings > Network & internet > SIMs and choose Add SIM or Add eSIM. Select the eSIM setup option, scan the QR code and finish the prompts.
The wording can change between Android versions. The successful result is the same: the Canada plan appears in the phone’s SIM list. Label it before leaving the settings screen.
For manufacturer differences and Android-specific mobile-data settings, see the Canada eSIM for Android guide.
Use Manual Activation Details When Scanning Is Not Practical
A manual installation normally uses information supplied with the purchase, such as an SM-DP+ address and activation code. Enter every character exactly in the phone’s manual eSIM setup screen. Do not substitute details found in another guide or from another order.
Manual entry is useful when the QR code is displayed on the same phone or the camera cannot read it. It does not create a second eSIM; it is another method of adding the same purchased profile.
If the device rejects the manual information, check spaces, punctuation and character case against the original details. Avoid repeated attempts after a successful installation, because the activation information may already have been consumed.
How to Confirm the Installation Succeeded
A successful installation has a visible result in the device settings:
- The new Canada or Travel line appears in the SIM list.
- The device allows you to open that line’s settings.
- The profile has a label that distinguishes it from the primary SIM.
- The Add eSIM process has completed without an unresolved error.
A signal bar is not required to prove installation. If you are still outside Canada or another included destination, the profile may have no supported network to join. Do not repeatedly scan the code merely because mobile data is not yet available.
What to Do If the QR Code Will Not Scan
Increase the QR code’s size and brightness on the second screen, clean the phone camera and avoid reflections. Make sure the entire code is visible and that the phone has an internet connection during setup.
If scanning still fails, use the manual activation details supplied with the same order. Before requesting a replacement, check the SIM list: an earlier attempt may already have installed the profile.
Do not use a generic QR scanner and expect it to install the plan. Start from the phone’s Add eSIM control so the operating system processes the code as a cellular profile.
If the Phone Says the Code Is Invalid or Already Used
First check whether the Canada eSIM already appears in the SIM settings. A one-time code can report that it has been used after the profile has successfully installed, even if the line has not yet been activated for data.
If the profile is present, stop scanning and move to activation when appropriate. If it is absent, confirm that you are using the code for the correct order and compatible device, then contact support with the order information. Do not share the full QR code in a public screenshot.
If installation stops partway through, record the exact error message and device model. Those details are more useful than deleting profiles or resetting all network settings without diagnosis.
Do Not Delete an Installed eSIM to “Start Again”
Deleting an eSIM removes the profile from the phone. It does not reset the original QR code, guarantee another installation or extend the plan’s validity. Because installation codes may be single-use, deletion can turn a settings problem into an access problem.
If the profile is visible but data does not work, the installation has likely completed. Check activation, data-line selection, roaming, network availability and any required APN instead. Use the Canada eSIM troubleshooting guide before considering removal.
Move from Installation to Activation
Once the Canada eSIM appears in the SIM list, the installation task is complete. The next stage is to decide when to turn on the line, select it for mobile data and apply the product’s roaming instructions.
The Canada eSIM activation guide explains those post-installation steps. It also covers automatic data switching, keeping the primary SIM active and testing the connection after arrival.
If the plan requires a manual APN, use only the value provided for the exact product. The Canada eSIM APN guide covers that separate configuration step.
Installation Checklist
- Verify the exact phone model and regional eSIM support.
- Confirm that the phone is carrier-unlocked.
- Read the plan’s installation and validity rules.
- Connect to dependable Wi-Fi and keep the phone powered.
- Scan the supplied QR code or enter its manual alternative.
- Complete the operating-system prompts.
- Label the installed profile Canada or Travel.
- Confirm that the profile appears in the SIM list.
- Store the order details privately and do not delete the profile.
Related Canada Setup Guides
- Check whether your device supports eSIM
- Set up a Canada eSIM on iPhone
- Set up a Canada eSIM on Android
- Activate the installed Canada eSIM
- Troubleshoot a Canada eSIM
FAQ
Can I install a Canada eSIM before travelling?
Often yes, but check the exact plan’s validity trigger first. Installation and activation may be separate, yet products do not all start in the same way.
Can I scan the eSIM QR code on the same phone?
The simplest method is to display the code on another screen. If that is not possible, use the manual activation details supplied with the purchase when the phone supports manual entry.
How do I know the Canada eSIM installed correctly?
The new plan should appear in the device’s SIM or mobile-network list and open as a configurable line. It does not need to show Canadian service while you are outside the supported area.
Should I delete the eSIM if it does not connect?
No. Check activation and network settings first. Deleting the profile does not reset a one-time QR code and may prevent straightforward recovery.
Final Recommendation
Install the Canada eSIM once, on a compatible unlocked phone connected to dependable Wi-Fi. Use the supplied QR code or its manual alternative, complete the prompts and confirm that the new profile appears in the SIM list with a clear label.
After that visible confirmation, stop scanning. Keep the profile and order details secure, then follow the separate activation steps at the appropriate time. If mobile data later fails, diagnose the settings rather than deleting the installed eSIM.