


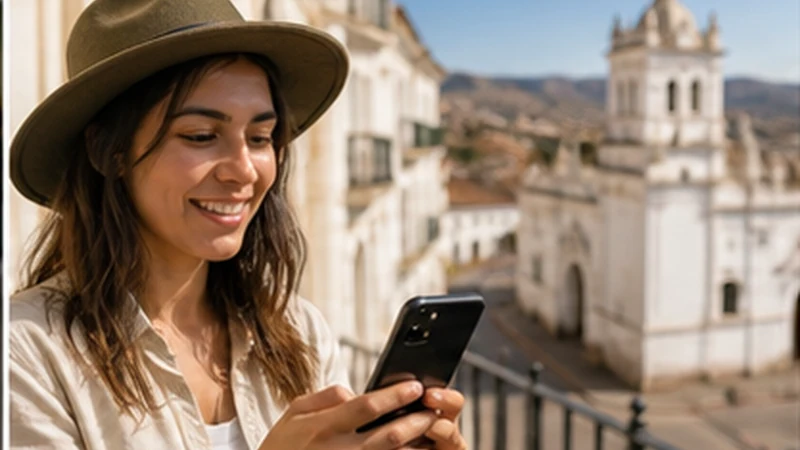

A Bolivia eSIM on iPhone works when the exact model supports eSIM, the handset is unlocked and the selected plan includes Bolivia.
Clear line labels make the arrival settings easier to understand and reduce the chance of using the primary SIM for travel data.
NoveSIM supplies data rather than a Bolivian telephone number; iMessage and internet apps can continue through the selected connection.
Quick answer: Install the Bolivia eSIM on iPhone before travel, label it Travel, choose it under Cellular Data and enable Data Roaming only for that line.
Top Bolivia eSIMs


Install a Bolivia eSIM on iPhone
- Open Settings and Cellular.
- Select Add eSIM.
- Scan the private QR code or use the supplied method.
- Label the new line Bolivia or Travel.
- Wait for the profile to finish adding.
Use the full Bolivia eSIM installation guide and verify the model against the compatible-device list.
Choose the Arrival Settings
Set Cellular Data to Travel, enable Data Roaming for that eSIM and turn Cellular Data Switching off. Keep roaming disabled on the primary line.
If a manual APN is requested, use data.esim. Do not delete the installed eSIM; follow the Bolivia troubleshooting steps.
Related Articles
FAQ
Where is Add eSIM on iPhone?
Open Settings, Cellular and Add eSIM. Menu wording can vary by iOS version.
Can I keep the physical SIM active?
Yes, while assigning mobile data to the travel eSIM and disabling home-line roaming.
Should Cellular Data Switching be on?
No. Turn it off to prevent unintended primary-line data.
Can I reinstall after deleting the profile?
Do not assume so. Keep it installed unless support instructs removal.
Final Recommendation
A Bolivia eSIM on iPhone is easier to manage with clear line labels.
Choose Travel for Cellular Data and enable roaming only there.
Preserve the installed profile and use reversible settings checks if service is delayed.