


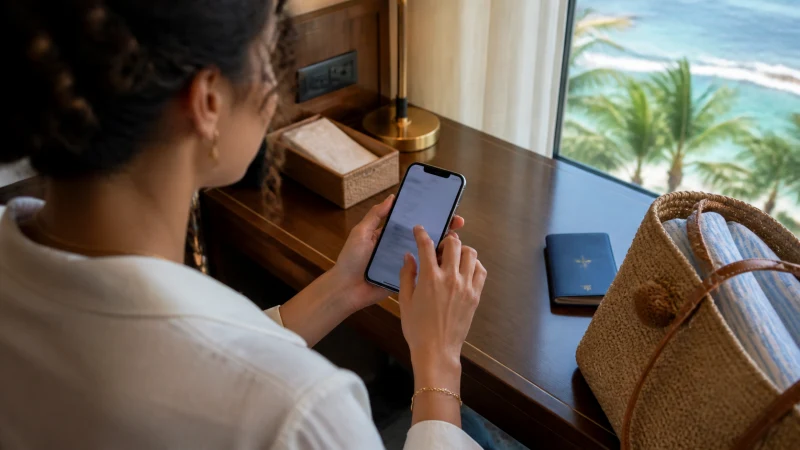

Installing an eSIM for the Bahamas is one of those small pre-trip tasks that’s easy to put off but takes only a few minutes once you actually sit down to do it — buy a plan, scan a QR code, and you’re set up before you’ve even finished packing, which matters given how quickly a cruise or short flight arrival can move.
Quick answer: Buy a Bahamas eSIM plan online, receive a QR code by email (also available anytime by logging into your account and checking your orders), and scan it through your phone’s cellular settings while connected to WiFi — ideally a few days before departure in case you run into any issues.
Top Bahamas eSIMs

Bahamas eSIM
Fixed
1 GB, 7 days€ 9.332 GB, 15 days€ 16.883 GB, 30 days€ 23.55Unlimited
Unlimited, 1 day€ 12.89Unlimited, 3 days€ 37.77Unlimited, 5 days€ 62.21
Before you start
Confirm your phone actually supports eSIM before buying a plan — most phones from the last several years do, but it’s worth checking your phone’s own settings menu under mobile or cellular data first. The phone compatibility guide covers checking this properly.
Buying your eSIM plan
Choose a plan sized to your trip length and expected data use — the how much data guide covers typical bundle sizes. Checking which underlying network the plan uses matters too, especially if your trip extends beyond Nassau or Freeport into the Out Islands — the Bahamas eSIM coverage guide covers this.
Scanning the QR code
After purchase, you’ll receive a QR code by email, also available anytime in your account order details. On both iPhone and Android, this is scanned through the phone’s cellular or mobile network settings menu — the process differs slightly by platform, covered specifically in the iPhone eSIM guide and Android eSIM guide.
Why WiFi matters during setup
The installation download itself needs an internet connection, which is why this step is best done before you leave rather than relying on airport or ship WiFi. Installing at home over your regular WiFi connection removes any last-minute stress, and gives you time to sort out any issues while you still have easy access to support.
Installing before a cruise specifically
Cruise passengers benefit especially from installing an eSIM well before departure, since ship WiFi is typically expensive and slow, and time ashore in port is limited — the Bahamas cruise guide covers this in more depth.
After installation: activation
Installing the eSIM profile and activating it for use are two separate steps — some travelers install before departure but only activate once they land or dock, to avoid using any data early. The activating an eSIM guide covers when and how to flip that switch.
If installation doesn’t work
A failed scan is usually down to a weak WiFi connection, an already-used QR code, or a phone that isn’t eSIM-compatible — double-checking your APN settings afterward resolves most remaining connectivity issues once the profile itself is installed correctly. The eSIM not working guide covers a fuller troubleshooting checklist if the basics don’t solve it.
FAQ
When should I install my Bahamas eSIM?
A few days before departure, while connected to reliable WiFi, rather than waiting until you’re traveling.
Do I need WiFi to install an eSIM?
Yes, the initial download requires an internet connection, ideally WiFi rather than relying on mobile data.
Is installing an eSIM different on iPhone vs Android?
The general QR code process is similar, but menu locations differ — see the platform-specific guides for exact steps.
Can I install now and activate later?
Yes, many travelers install before flying but only activate the eSIM once they land or dock.
Should cruise passengers install their eSIM before boarding?
Yes, since time ashore is limited and ship WiFi is typically expensive.
Where do I find my QR code if I lose the email?
Log into your account and check your order details — it’s available there anytime.
Final Recommendation
Install your eSIM a few days before departure over home WiFi, and save activation for landing or docking if you’d rather not use data early. See the activating an eSIM guide for the next step.