


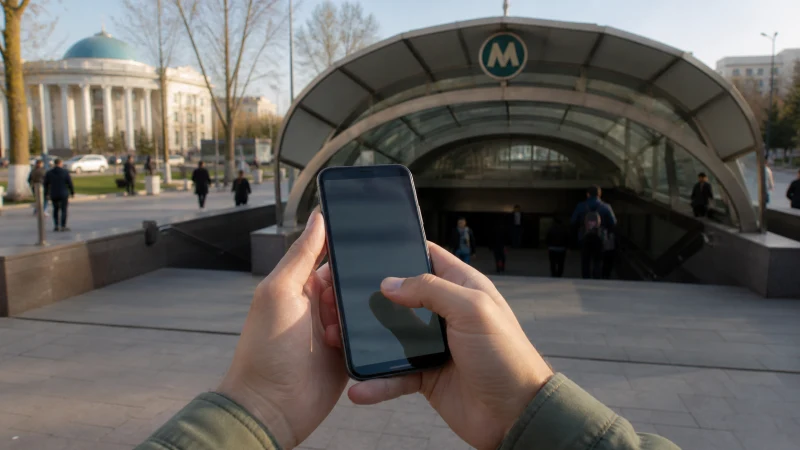

Samsung Galaxy and Google Pixel can use an Uzbekistan travel eSIM when the exact handset supports it and is unlocked. Their installation menus differ, but both require you to select the downloaded profile for mobile data afterwards.
The common setup mistake is editing one SIM’s settings while another SIM remains selected for data. Check the line name before changing roaming or an APN, particularly when two profiles are enabled.
Our travel eSIMs supply data only. We do not provide a local number, conventional calls or SMS with these plans; those services remain separate from internet messaging and calling apps.
Quick answer: Add the profile through Samsung’s SIM manager or Pixel’s SIMs menu. Once in Uzbekistan and ready to use the plan, make it the data SIM and enable its roaming. If manual APN setup is required, save and select data.esim under the travel line, not the home SIM.
Top Uzbekistan eSIMs

Uzbekistan eSIM
Fixed
1 GB, 7 days€ 3.172 GB, 15 days€ 4.073 GB, 30 days€ 4.98Unlimited
Unlimited, 1 day€ 2.71Unlimited, 3 days€ 5.43Unlimited, 5 days€ 8.14
Check the Exact Android Variant
Find the full model code in About phone and compare it with the NoveSIM compatibility list. Similar model names do not guarantee identical eSIM support across sales regions or carrier versions.
Confirm that another provider can be added to the unlocked handset. Before installation, read the start and validity rules for your Uzbekistan package. Do not infer its activation timing from a different destination plan.
Download the Profile on Samsung Galaxy
- Connect to reliable Wi-Fi and open Settings.
- Choose Connections, then SIM manager.
- Tap Add eSIM and follow the option to scan the supplied QR code.
- Complete the download and confirm that the new eSIM appears in SIM manager.
- Rename it Uzbekistan Travel, so it is identifiable when choosing preferred SIMs.
Samsung’s Galaxy eSIM instructions describe the installation menu. Wording can vary with One UI and carrier firmware. If Add eSIM is absent, check the exact model rather than repeatedly scanning in the camera app.
Download the Profile on Google Pixel
- Open Settings while connected to Wi-Fi.
- Go to Network & internet, then SIMs.
- Choose Add SIM, then Set up an eSIM where shown.
- Follow the QR-code or supplied manual-entry instructions.
- Confirm that the new profile appears under SIMs before configuring data.
Google’s Pixel setup guidance notes that the process may vary by operator. Keep the QR code private, and stop scanning when the profile has downloaded. For an installation error, consult the pre-travel installation guide.
Assign Travel Data, Not Just an Enabled SIM
On Galaxy, select the Uzbekistan profile for Mobile data in the preferred-SIM controls available on your device. On Pixel, open SIMs and select the travel profile for mobile data. An enabled line is not necessarily the data line.
Enable roaming for that travel SIM when connecting in Uzbekistan, while leaving home-SIM data roaming off. Disable automatic data switching if offered. Keep operator selection and the preferred network mode automatic initially.
Backup Calling is a separate calling feature, not another name for automatic data switching. Review it separately if you keep your home number active, together with that carrier’s calling charges. The dual-SIM guide covers line selection in more detail.
Save and Select a Manual APN Only If Needed
If the travel line has signal but no internet, check its validity, allowance and roaming first. When manual APN entry is required, open Access Point Names for the Uzbekistan SIM. Samsung may place this under Connections and Mobile networks; Pixel commonly exposes it within the selected SIM’s settings.
- Confirm that you are editing the travel line, not the primary SIM.
- Add an APN entry if the fields are editable and the order instructions require it.
- Use NoveSIM as the label and data.esim as the APN, with username and password blank.
- Leave other fields unchanged unless the supplied instructions specify otherwise.
- Save the entry and select it if Android shows a choice of APN profiles.
If editing is unavailable, do not force a new profile or reset every network setting. Use the Uzbekistan APN guide or ask support to check the device configuration.
Test the Connection without Reinstalling
Disconnect Wi-Fi briefly and load two unrelated services. If neither works, inspect the travel SIM’s data and roaming settings again. A No Service message needs a network-registration check; signal without data calls for a settings and plan check.
Try one Airplane Mode toggle or a restart if necessary. Keep the eSIM installed unless support specifically instructs removal. Screenshots showing the selected SIM and APN can help, but conceal activation credentials. Further checks are in Uzbekistan eSIM troubleshooting.
Related Articles
FAQ
Do all Galaxy and Pixel models support travel eSIMs?
No. Check the full model, regional version and carrier lock. A product-family name alone is not sufficient confirmation.
Why is there no Add eSIM button on my Samsung?
The model or its regional/carrier configuration may not support that function. Verify compatibility and the manufacturer’s guidance before buying or retrying installation.
Why does a saved APN make no difference?
It may not be selected, or you may have edited the other SIM’s APN list. Check both the active APN and the preferred data SIM before changing further settings.
Is Backup Calling the same as data switching?
No. Backup Calling concerns calling behaviour; automatic data switching concerns the data SIM. Review the controls separately and check your home carrier’s terms.
Final Recommendation
Follow the Samsung or Pixel installation path that matches your handset rather than a screenshot from another Android model.
After download, check the chosen data SIM. If an APN is needed, make sure the saved entry belongs to that same travel line and is selected.
These checks address the two most easily confused Android controls without deleting the profile or changing unrelated home-SIM settings.